Using one of the best VPNs is an easy way to become anonymous online, as it changes your IP address and spoofs your location by connecting to servers around the globe.
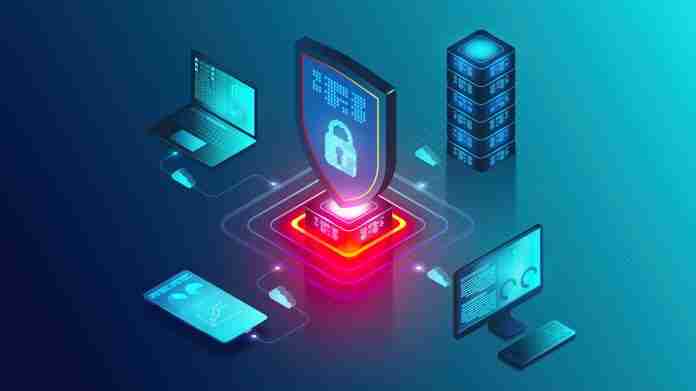
With NordVPN’s Meshnet feature, you can extend that privacy by creating a private network for all your devices. That means you can route all your online traffic through another linked device.
Follow this guide to learn more about what you can do with a VPN and Meshnet.
Can I use Meshnet with a VPN?
Meshnet is a type of virtual network that works like a local area network (LAN). It allows you to connect to devices directly. These devices can communicate with each other without any restrictions, no matter where they are in the world.
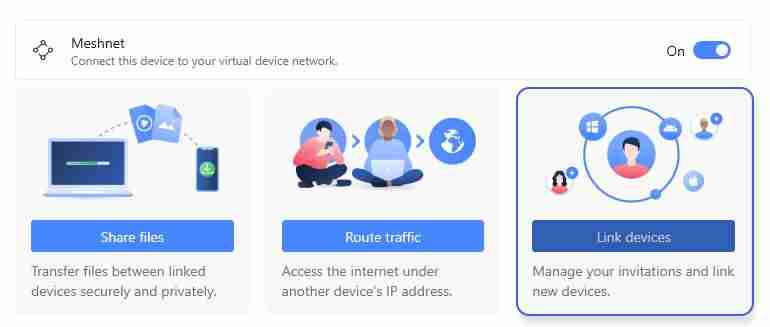
Since Meshnet lets you route your traffic through another device, it allows you to access the internet with the IP address of that device. For example, if you left your laptop at home, you can connect your phone from another location and use your laptop’s IP address.
In that sense, if you’re using a VPN on a device, the Meshnet-connected device will also use this VPN connection.
Meshnet can be used by up to 10 personal devices and up to 50 external devices from other users. All these devices can route their internet traffic through your device. If it’s connected to a VPN, this means all linked devices will share the same VPN connection.

Can I use Meshnet without NordVPN?
Meshnet is a free feature from NordVPN. While you don’t need a subscription in order to use it, you do need to install the NordVPN app and create an account to use Meshnet.
That said, if you’re using a VPN connection while linking devices with Meshnet, you can use other VPN services like ExpressVPN or Private Internet Access (PIA). Of course, since you’ll already have the app installed, it’s best to use NordVPN.
How to install Meshnet and connect to a VPN
Getting started using Meshnet is easy; you only need to install the NordVPN app on your device and activate the feature.
It’s important to note that the same method can be applied to Windows, macOS, Android and iOS devices.
Go to the NordVPN website
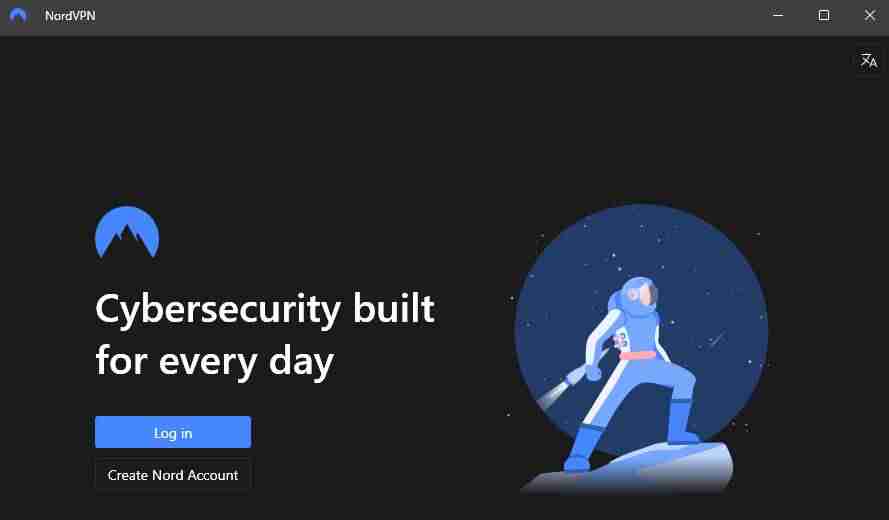
Download and install the NordVPN app
Create a NordVPN account or sign in
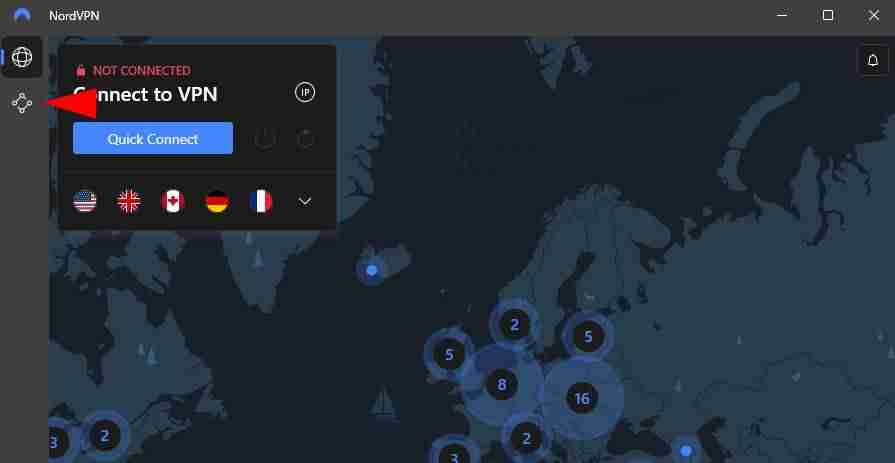
Select the Meshnet icon on the sidebar
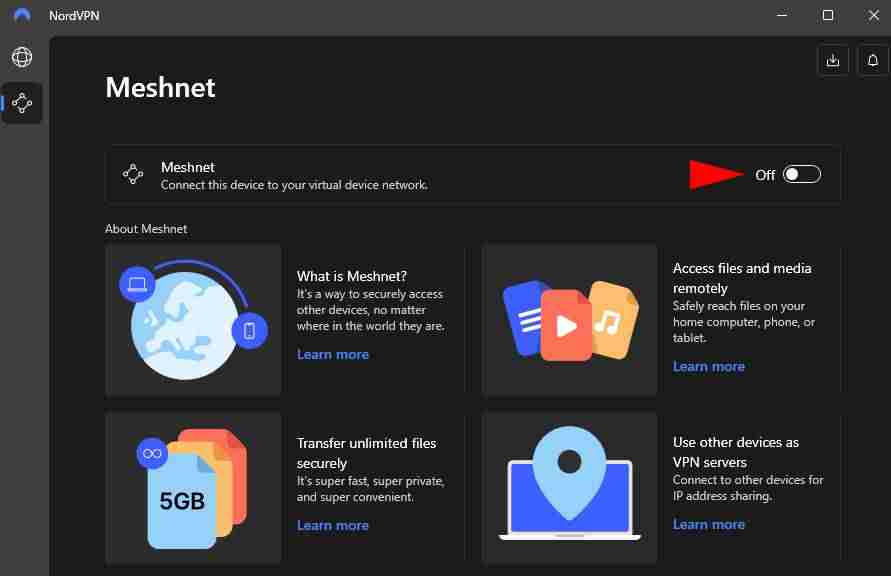
Turn on Meshnet
Connect to a VPN server
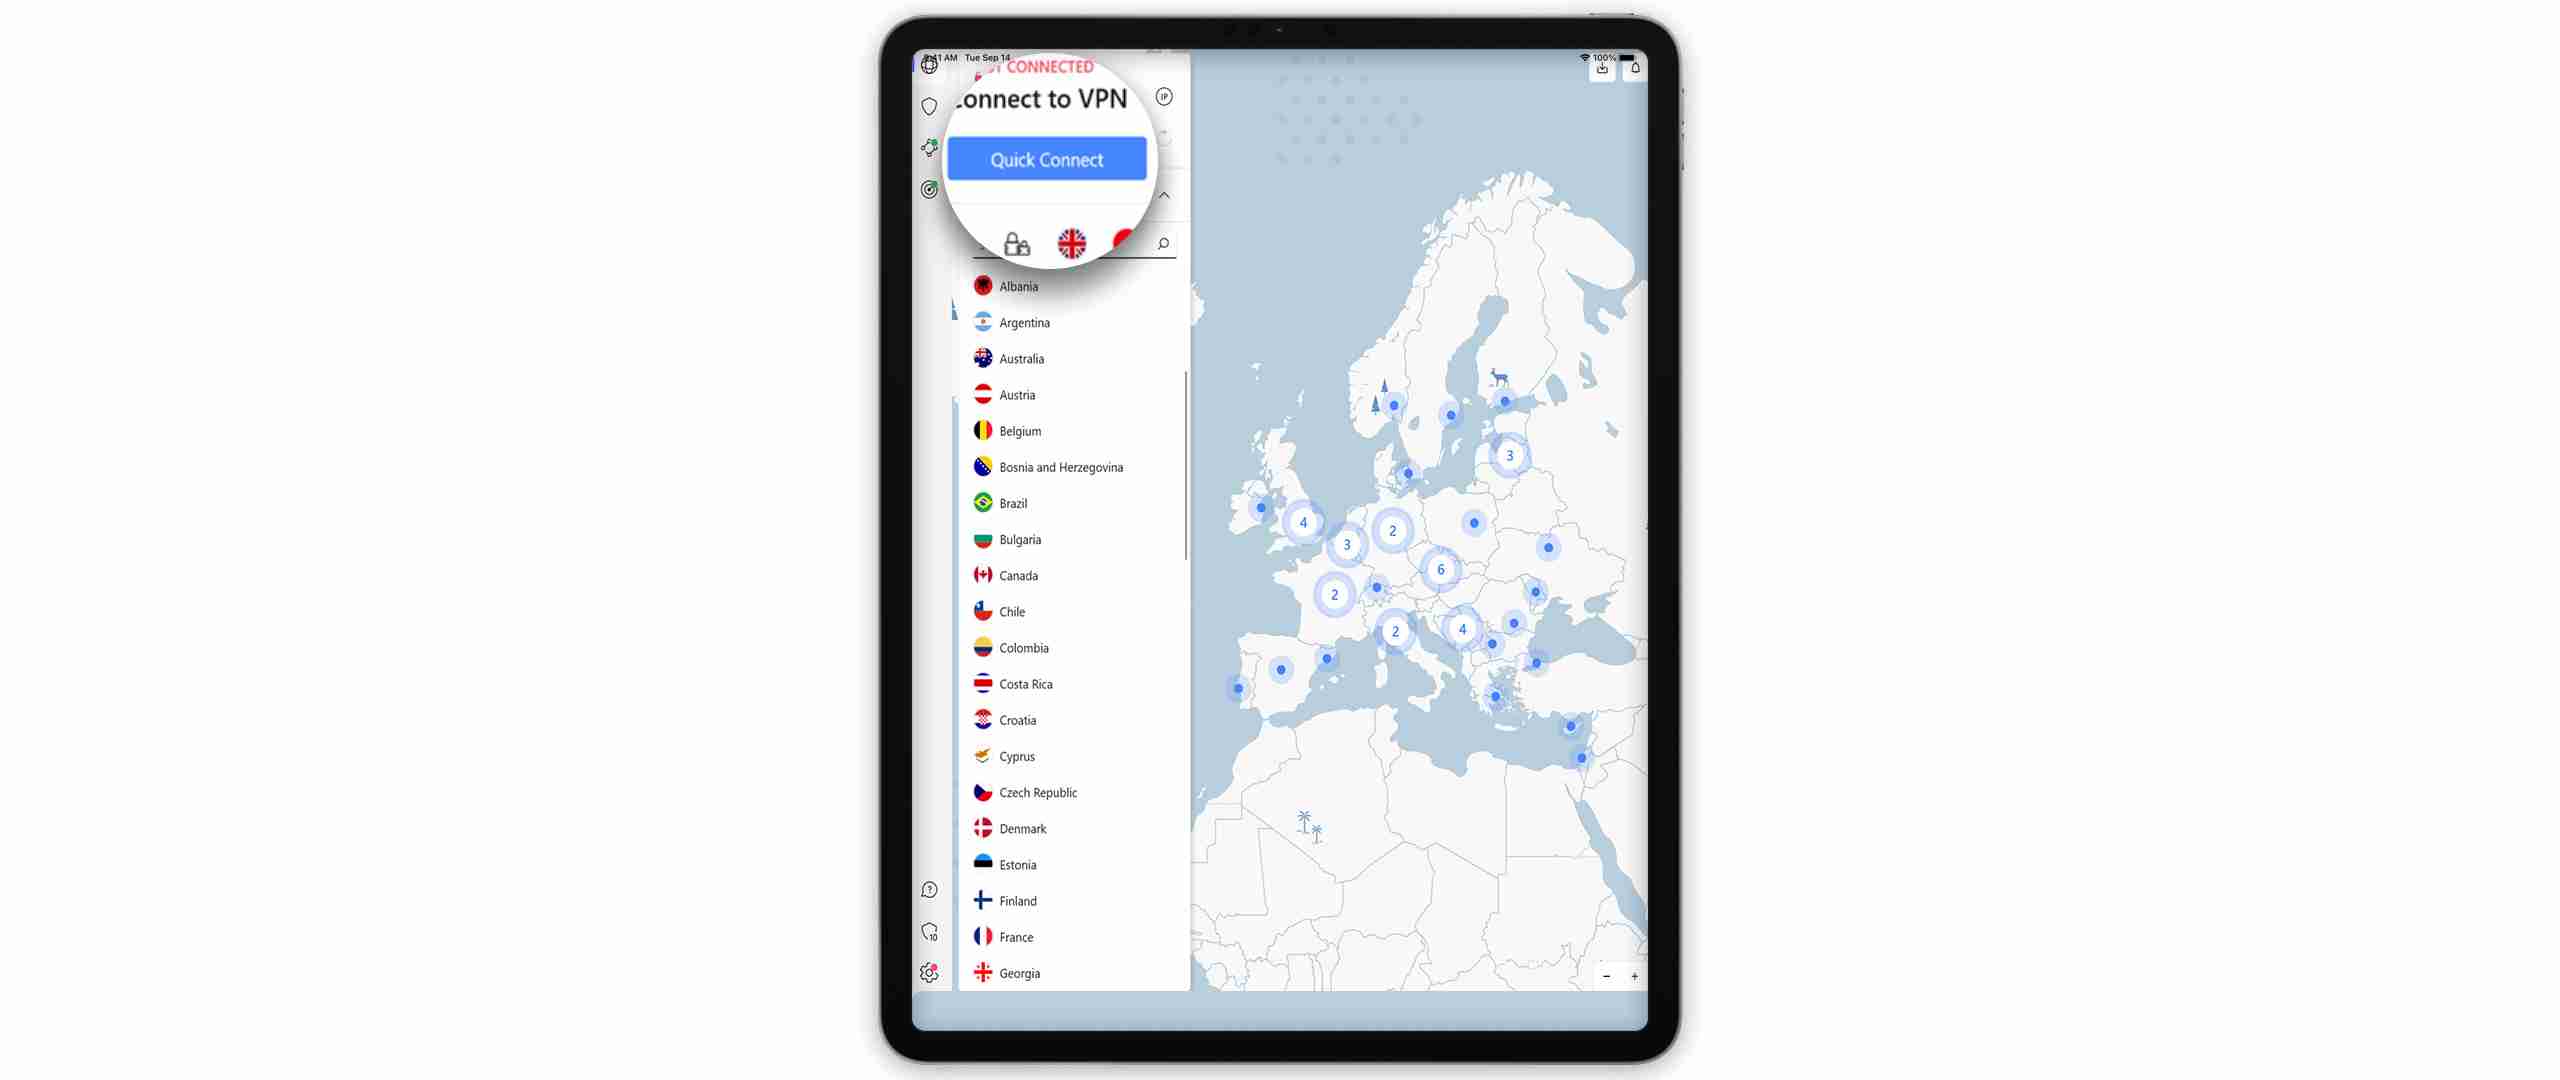
There you have it. Once you have Meshnet enabled, all you need to do is connect to a VPN server to start routing your traffic through a VPN connection.
Repeat the method above with 10 of your own devices and connect more from friends or family to start growing your personal network.
How to link devices in Meshnet
Linking devices to your Meshnet network is simple, as you only need to setup Meshnet on another device using the same account. If you’re adding another user’s device, known as external devices, you’ll need to know the other user’s email address.
- In the Meshnet tab on NordVPN, click Link devices.
- A menu will pop up. Here, select Link external devices.
- Enter the email address of the NordVPN user to invite them to access your connected device.
- Select permissions. This includes:
– Allow receiving files
– Allow traffic routing
– Allow local network access
– Allow remote access. - Once done, click Send invitation.
When the user accepts the invitation, the external device will appear on a list of connected external devi